Low back pain usually gets better with rest, ice, and over-the-counter pain relievers. After a few days of rest, you can start to get back to your normal activities. Staying active increases blood flow to the area and helps you heal
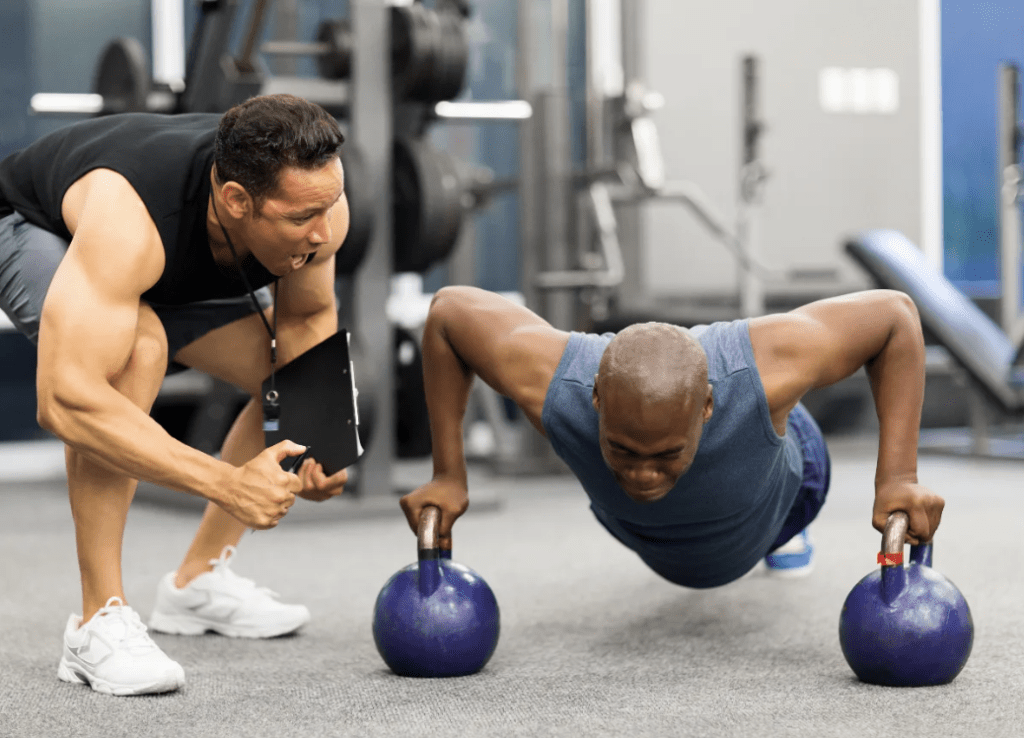
Today, we’re here to share eight simple exercises you can do at home to safeguard your spine or low back
Between office jobs and lounging around watching Netflix, people’s lives have become more sedentary than ever.
This is leading to a global rise in:
• Poor posture
• Chronic back pain
• Neck, hip, and joint pain
Here Are 8 Exercises You Can Do At Home To Save Your Low Back:
1. Dead Hangs

Dead hangs, or dead hanging, is an exercise that involves holding on to the overhead pull-up bar with extended arms and supporting your hanging body with your grip with your feet off the ground.
- Most people carry tension in their back, neck, and shoulders.
- Dead hangs relieve this tension, as well as the natural compression your spine experiences throughout the day.
- If needed, use your legs to slowly lower yourself down until you build strength.
To Perform A Dead Hang
- Using a secure overhead bar or a Chin-Up bar at the gym
- Grip the bar with an overhand grip (palms facing away from you)
- Move your feet off the step or bench so you’re hanging on to the bar.
- Keep your arms straight at the elbow joint
- Hang for 10 seconds if you’re new to the exercise and gradually increase upto 1-2-2-4-10 mins
2. Thoracic Extensions
The thoracic extension involves concurrent posterior rotation (external torsion) and depression of the posterior ribs with the elevation of the anterior ribs.
Poor thoracic health leads to chronic back pain and long-term mobility issues.
How To Perform A Thoracic Extension Exercise
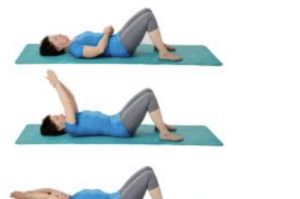
- Lie on the floor on your back with your knees bent and feet flat on the floor.
- Lift arms straight out in front of you with palms facing up.
- Then lift your arms up over your head slowly until you feel a stretch, or you can go no further, hold for a few seconds then return to the starting position.
- Spend 30 seconds in this pose, followed by 15 seconds of rest.
- Starting and ending your day with 4 sets of these will release tension, reduce stress, and improve mobility.
DOWNLOAD THE THORACIC EXTENSION EXERCISE IN PDF HERE => thoracic-strengthening-exercises
3. Deadlifts
Deadlift is a weight training exercise in which a loaded barbell or bar is lifted off the ground to the level of the hips, and torso perpendicular to the floor, before being placed back on the ground.
This is hands-down my favorite exercise and for good reason.
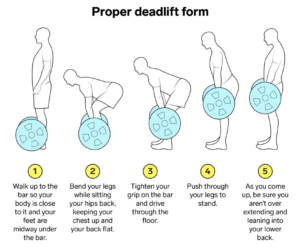
It’s a simple compound movement that strengthens your entire posterior chain.
Start with low weight and focus on the proper form until you’re able to add resistance.
How To Deadlift
- Walk to the bar. Stand with your mid-foot under the bar. …
- Grab the bar. Bend over without bending your legs. …
- Bend your knees. Drop into position by bending your knees until your shins touch the bar. …
- Lift your chest.
- Straighten your back by raising your chest and Pulling.
4. Glute Bridges
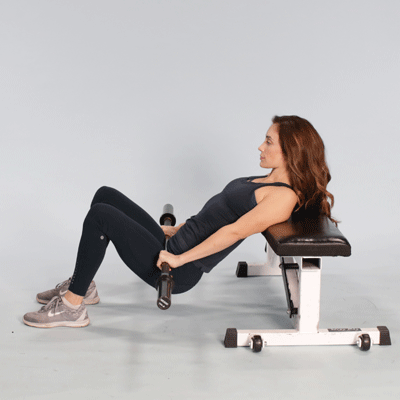
- The glute bridge is a popular lower-body bodyweight exercise that primarily targets the glutes but also activates the lower back and hamstrings.
- When your glutes are weak, your back compensates by doing more work.
- This added stress causes pain and inflexibility over time.
How To Perform A Glute Bridge

- Lay down on your back with your knees bent and your feet flat on the ground. Your feet should be hip-width apart with your toes pointed straight ahead, and your heels should be about 6-8 inches away from your glutes. Place your arms by your sides with your palms turned up toward the ceiling.
- Squeeze your glutes and your abs as you start to lift your hips toward the ceiling.
- Raise your hips as high as you can go without arching your back. The goal is to raise your hips until your body is in a straight line from your knee to your hip and to your shoulder.
- Squeeze the glutes as tightly as you can in the top position while you hold for two seconds. Slowly lower the hips down to the floor, keeping tension in the glutes and abs as you lower down.
- You should feel your glutes the most during this exercise. If you feel your hamstrings working the most, try moving your feet back, closer to your glutes.
Contract your glutes for 30 seconds, then rest for 15.
Doing 5 sets per day will strengthen your core and improve your balance.
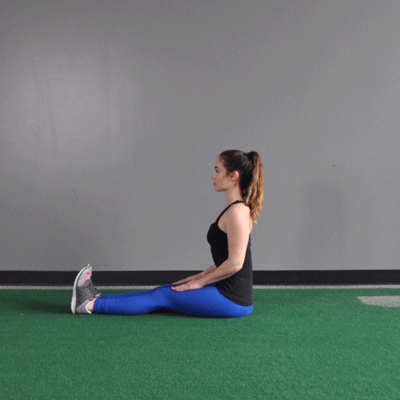
5. Seated Spinal Twist-Marichyasana
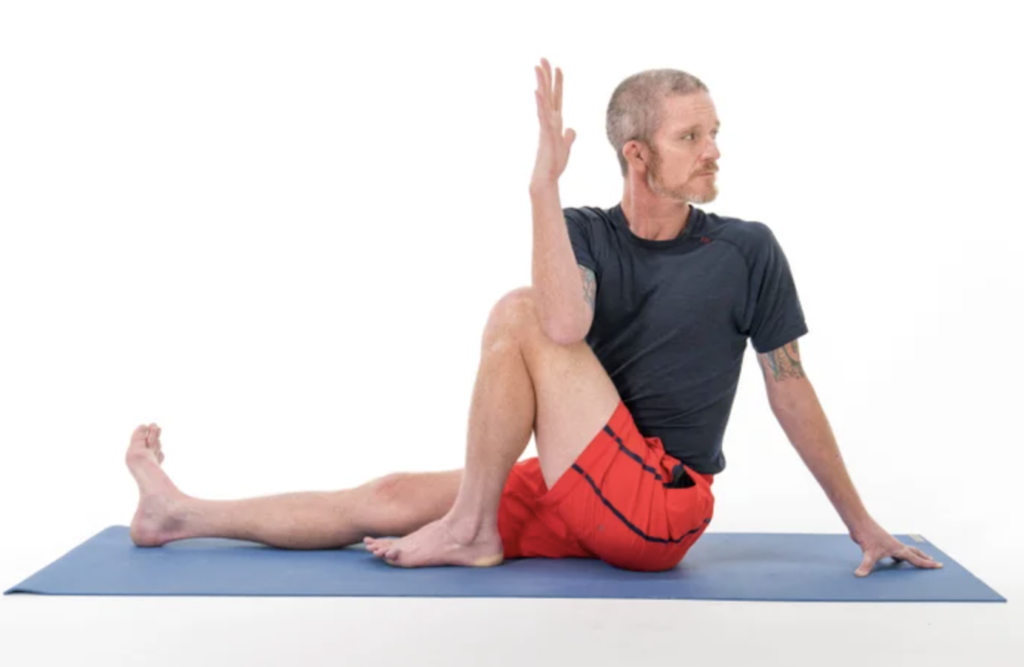
This is an effective way to improve chest, shoulder, and back flexibility.
Seated Spinal Twist is a restorative yoga pose that promotes good digestion and encourages spinal mobility.
Steps Of Performing Seated Spinal Twist
- Start by sitting on the floor, with your legs straight out in front of you and your arms behind your back.
- Place your hands on the floor behind you with your fingers facing away from you.
- Take your left foot and place it flat on the ground on the outside of your right knee.
- Inhale and bring your right arm up. Exhale and pull your right arm down.
- Place your elbow on the outside of your left leg.
- Turn your chest, head, and eyes to the left. Hold this pose for about a minute. Breathe. Slowly bring your head first and then your chest back to the center.
- Now repeat on the other side.
- Hold the position for 30 seconds, rest for 15, then repeat on the other side.
- Start your day with this exercise to increase your circulation and range of motion.
If you have injuries or if you’re concerned about exercising, consult with your healthcare provider before starting a yoga program.
6. Child’s Pose-Balasana
This one is so simple, a child can do it — not seriously.
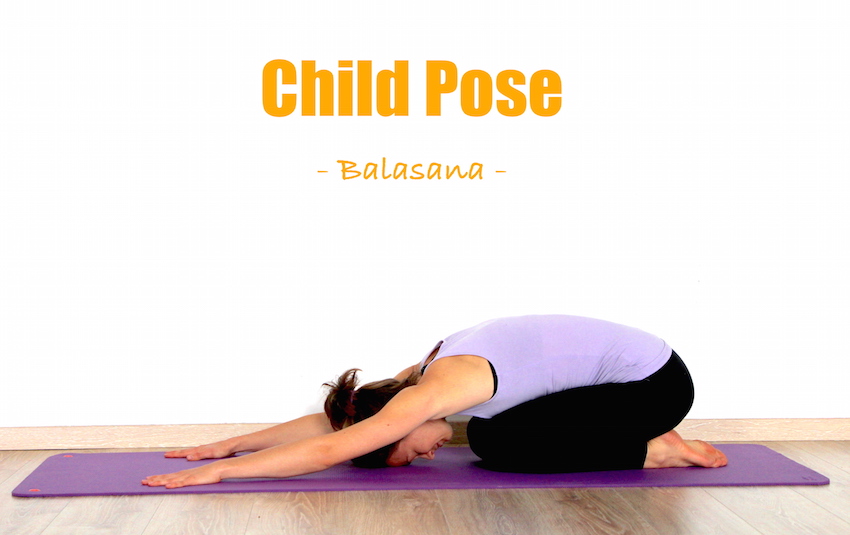
- Stretch your arms in front of you with the palms toward the floor or bring your arms back alongside your thighs with the palms facing upwards
- Hold this position for 20 seconds.
- Do this before bed to release the tension built up in your shoulders and lower back.
7. Hip Flexor Stretch
Sitting all day weakens your hip flexors, increasing your chance of serious back injuries.
This stretch reverses that damage to protect your pelvis and reduce low back pain.
Lean forward slightly, stretching your right hip toward the floor. Squeeze your butt; this will allow you to stretch your hip flexor even more.

Hip flexors are often overlooked, but they are crucial to your mobility.
Hip Flexor Stretch Instructions
- Kneel on your right leg and bend your left leg in front of you at a 90-degree angle.
- Shift your weight forward until you feel a stretch in your hip.
- Switch the legs and repeat the stretch.
- Hold the stretch for at least 15 to 30 seconds.
- Repeat 2 to 4 times.